You found a deal—now what’s it worth?
It usually starts with a screenshot: a GPU listed “barely used,” priced just low enough to feel like a mistake. The clock is running because someone else is watching the same listing, but the risk is real—one bad card can erase the savings fast. At this point the goal isn’t to prove it’s a bargain. It’s to figure out what number would still make sense if you discover a missing accessory, louder fans, or a few months of mining history after you’ve paid.
Before negotiating, treat the asking price as a hypothesis. A fair value needs a range, not a single number, because used parts have condition spread and platform-specific demand. You’re trying to separate “cheap” from “appropriately discounted,” and that gap is where most costly mistakes hide.
Anchor the price with recent completed sales
The fastest way to stop guessing is to replace the seller’s number with what buyers actually paid last week. Not listings, not “watching,” not the one outlier that sold in five minutes—completed sales, with the same part and a similar bundle. That takes a few minutes and it’s annoying, but it’s cheaper than discovering the “deal” was just priced like every other card once shipping and fees land.
Pull 5–10 recent sold results across the same marketplace (eBay sold listings is the usual baseline) and write down the all-in price: item + shipping, then mentally subtract the platform fees only if you’re the seller. Toss the obvious weird ones (parts-only, box-only, “for repair,” massive bundles), then look for the tight cluster. If most sales sit between $240–$270 and this one is $210, that discount is now something you can interrogate: missing receipt, no returns, hot-running sample, or simply a rushed seller.
Once you have that cluster, you can negotiate from a range instead of a vibe, and you’ll know exactly how much discount you’re being paid to accept risk.
Verify exact model and hidden spec variants
That “same card” in the sold listings can quietly be three different products once you zoom in, and the price spread usually tracks the variant, not the seller’s honesty. Before you treat a comp as a comp, pin down the exact SKU: subvendor model name, VRAM size, memory type (GDDR6 vs GDDR6X), and any limiter/refresh tag (LHR, “SUPER,” “Ti,” “XT,” “XTX”). OEM-only versions and later refreshes can look identical in a thumbnail but trade at a different floor because buyers are really paying for performance, cooler quality, and resale liquidity.
Don’t negotiate off vibes—ask for proof that costs the seller almost nothing: a clear photo of the sticker/backplate with model number, and a GPU-Z/CPU-Z screenshot showing device ID, memory size, and BIOS version. If they can’t produce that within the time pressure of a hot listing, treat the discount as compensation for ambiguity, because return shipping and a missed return window can erase the “deal” fast.
Once the model is locked, you’re ready to test whether this specific unit is healthy, not just correctly named.
Check health fast: temps, errors, stability
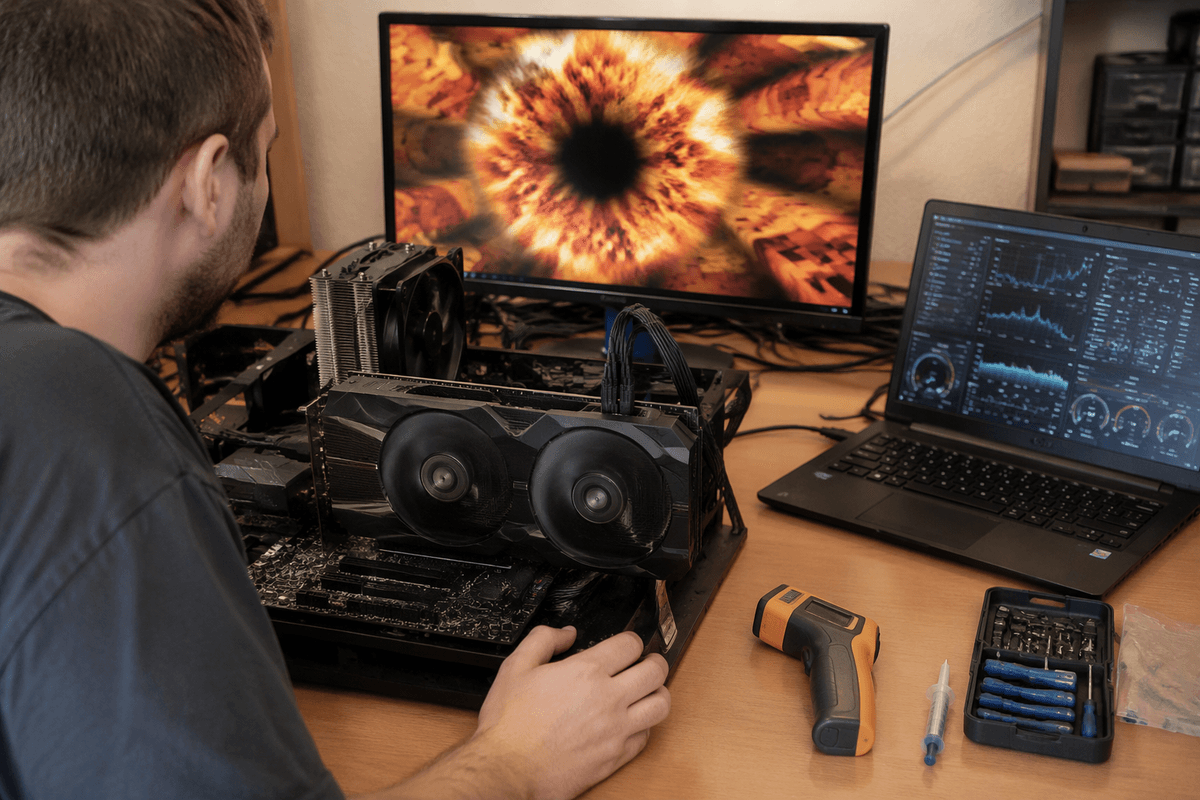
Once the SKU is pinned down, the next question is whether the discount is simply “used,” or whether it’s paying you to inherit instability. For local pickup, budget 10–15 minutes and assume you won’t get a second chance—bring a small toolkit: GPU-Z/HWiNFO, a quick stress test (3DMark loop, Unigine, or OCCT), and something that shows artifacting fast. For shipped parts, do the same checks immediately on arrival, because the return clock is the real constraint, not your build schedule.
Start with idle and a short load: fans should ramp smoothly, no grinding, no sudden tach drops. Watch hotspot vs core delta on GPUs; a big gap often points to dried paste or uneven mounting, which can turn into throttling or crashes when the case is warmer than a test bench. Run a 10-minute loop and look for the stuff sellers don’t mention: driver resets, WHEA errors, black screens, flicker, or single-frame artifacts. One clean pass doesn’t guarantee perfection, but repeated errors move the price from “market minus wear” to “market minus repair risk.”
If the part only behaves after undervolting, lowering power limits, or backing off XMP/EXPO, treat that as a measurable defect cost. It can still be worth buying—just not at the same comp range you anchored earlier.
Adjust for age, warranty, and past usage
Even when the quick stress loop looks clean, the price still has to pay for time. A two-year-old GPU with no proof of purchase isn’t the same risk as the same model with 18 months of remaining warranty and a receipt that will survive an RMA. Ask for the purchase date, original retailer invoice, and whether the manufacturer warranty is transferable; if any of that is missing, assume you’re self-insuring and discount accordingly because the failure cost isn’t just replacement—it’s downtime plus return shipping you may not get back.
Past usage is the other multiplier. “Light gaming” can still mean constant high junction temps in a small case, while mining can be fine if it was undervolted and kept cool—but you don’t get to assume the best case. Look for tells: worn screw heads, mismatched thermal pads, BIOS flashes, sag marks, and fans that need higher RPM for the same temps. When you can’t verify the history inside the return window, treat your anchored comp range as the ceiling, not the midpoint.
Factor market timing and platform shifts
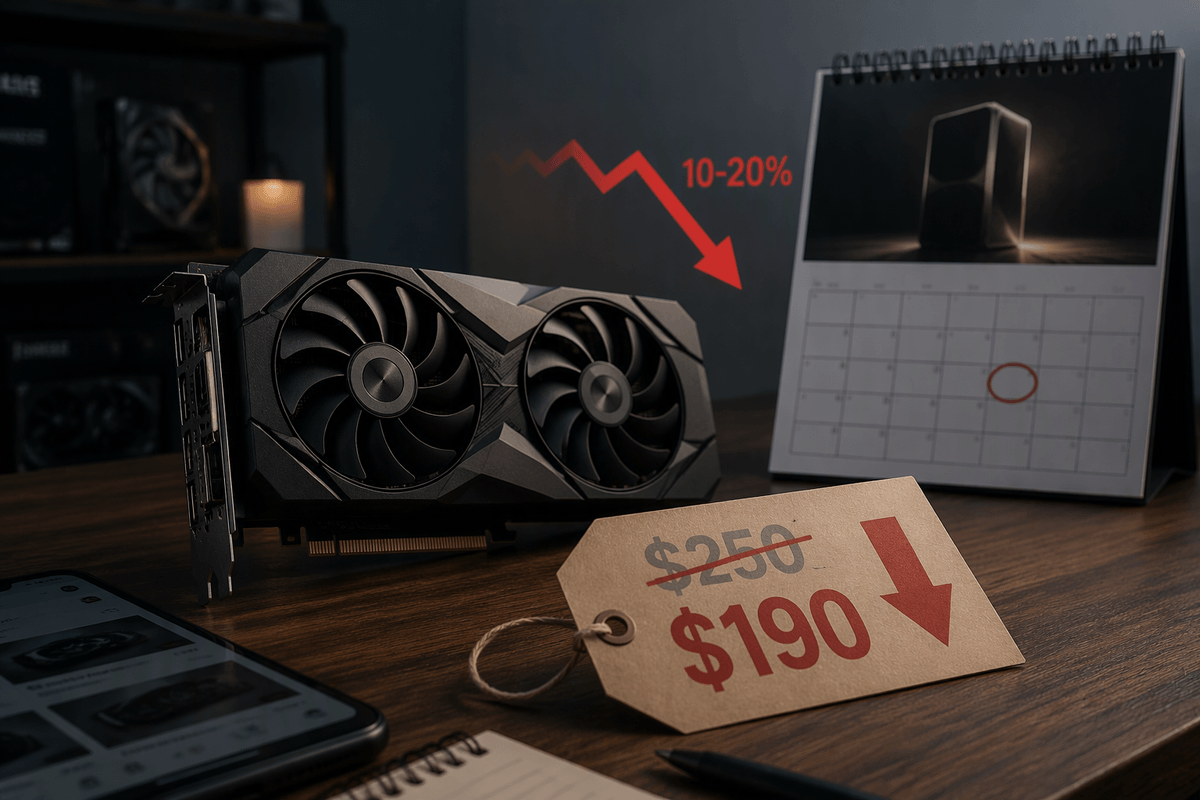
Now sanity-check whether your “fair” comp range is about to slide. If a next-gen launch, price cut, or big bundle promo is imminent, yesterday’s sold listings can be a trap—especially for midrange GPUs where new inventory instantly resets the used floor. That timing risk is a real cost: buying today might mean eating a 10–20% drop within a week, while selling today might be the last moment before buyers stop chasing your tier.
Platform shifts do the same thing quietly. A CPU that looks cheap can be expensive if it strands you on a dead socket, forces DDR4 when you’re moving to DDR5, or needs a pricier motherboard/BIOS update to be usable. The more “end-of-platform” the part is, the more your anchored comp range should move from midpoint toward the low end—because resale liquidity evaporates first, long before the part actually fails.
Set a fair range, then decide confidently
By now you’ve got enough signals to stop chasing a “steal” and start pricing the risk. Take your completed-sales cluster as the center, then set a floor and ceiling based on what you actually observed: verified SKU, clean 10-minute loop, reasonable hotspot delta, proof of purchase, and any friction like no returns or sketchy packaging. If two of those are missing, the range should slide down, not just widen—because the expected cost of a bad unit isn’t theoretical once the return window closes.
In practice, write a simple bracket: “I’m in at $X, comfortable at $Y, and I walk at $Z.” Then act like those numbers are real constraints. If the seller won’t meet the bracket, don’t negotiate against your own notes. The win is buying something you won’t regret a week later, not “winning” the chat.